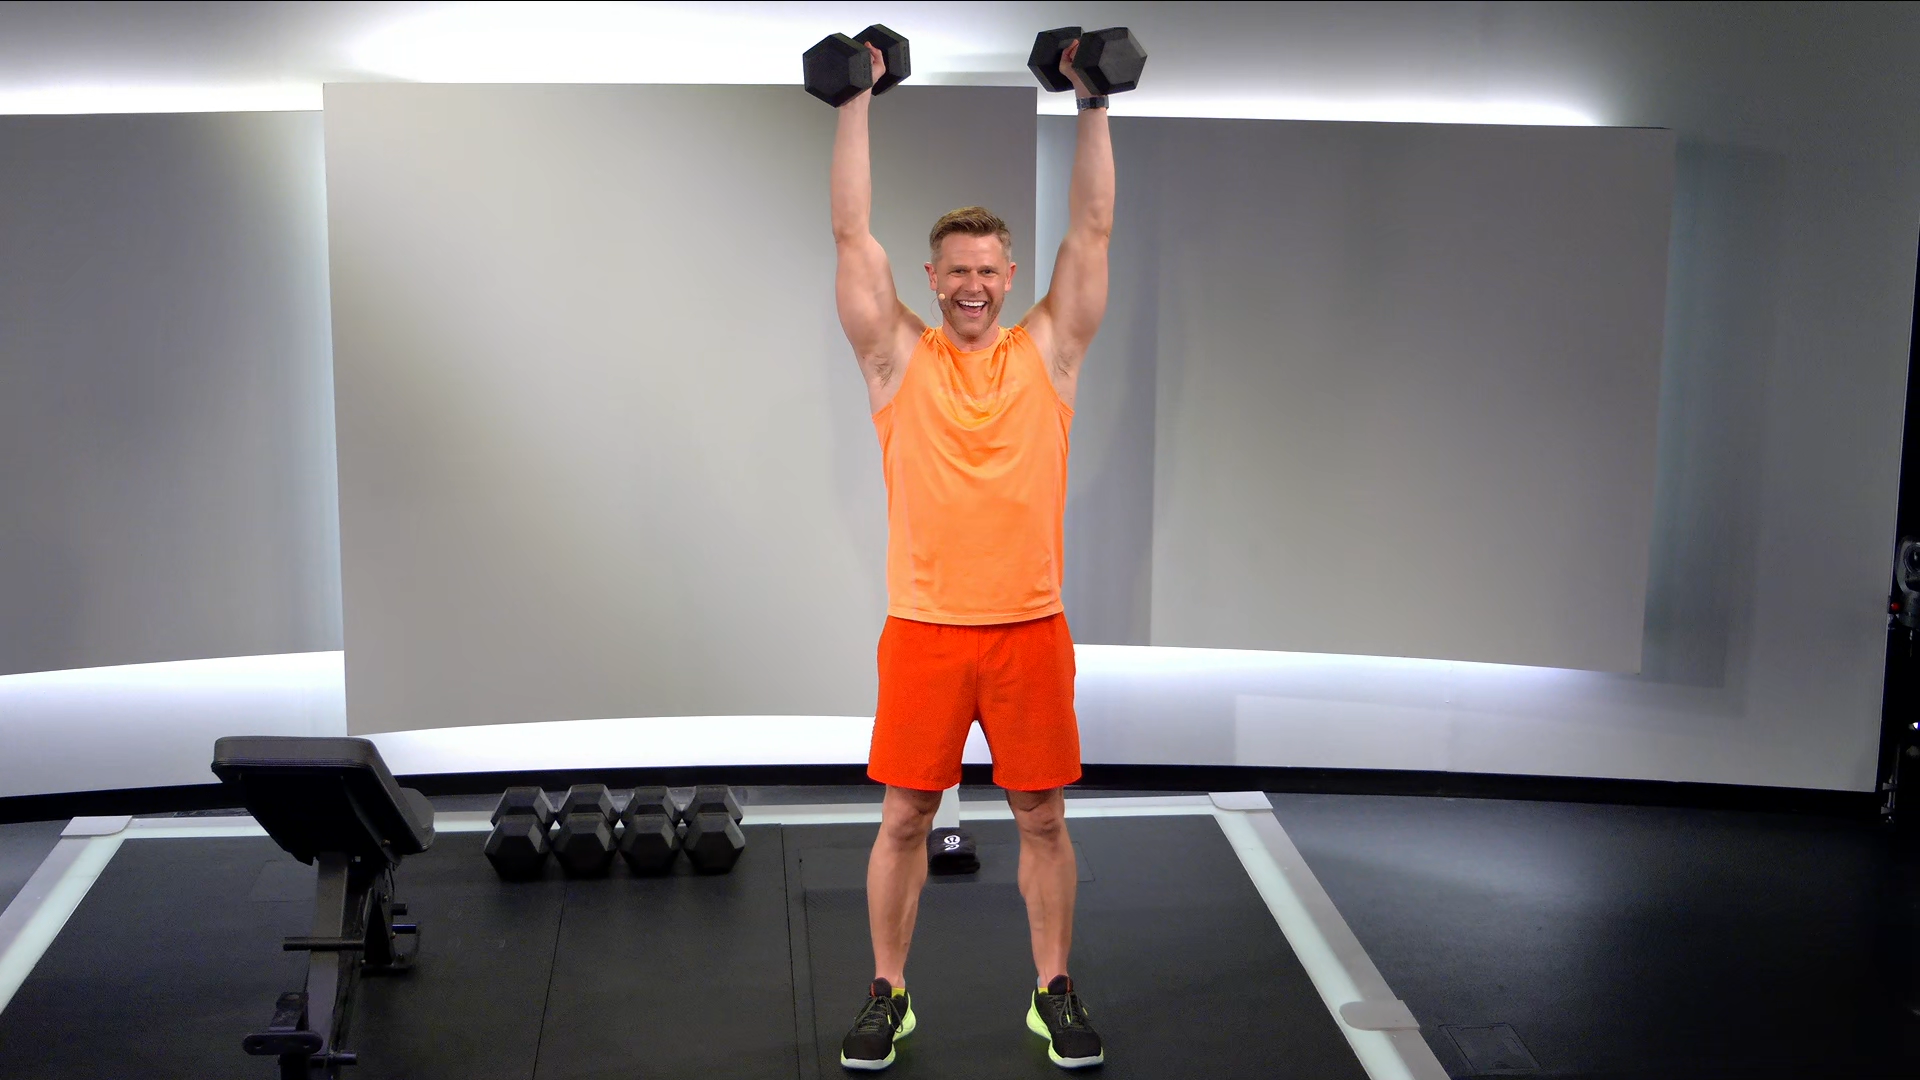
The Chest-Supported Row Is the Upper Back Challenge Your Workouts Are Missing—Here's How to Do It
Whether you’re a strength training newbie or a seasoned pro, this simple bench exercise will seriously work the muscles of your upper back.
By Michelle Konstantinovsky•
What Is a Chest-Supported Row?
Chest-Supported Row vs. Traditional Rows: What’s The Difference?
What Muscles Does a Chest-Supported Row Work?
Chest-Supported Row Benefits
How to Do a Chest-Supported Row Correctly
3 Tips For Better Chest-Supported Rows
Chest-Supported Rows: Modifications and Variations
Mistakes to Avoid When Doing Chest-Supported Rows
The Takeaway


If you’re after a super targeted method for accelerating your strength gains, you should know about the workout bench. If you’ve yet to try a one, it’s a key strength tool that can help you improve range of motion and increase the effectiveness of various strength exercises. Case in point? The chest-supported row.
One particular exercise you’ve probably performed countless times—the row—takes on a whole new life, courtesy of the bench, and when executed properly, can, in Peloton Instructor Andy Speer’s words, safely and efficiently “blast your lats and upper back.” Here’s everything you need to know about the bench-friendly, chest-supported row, and why it might be a new favorite staple in your strength routine.

Peloton App
Access thousands of classes with no equipment needed.
What Is a Chest-Supported Row?
To understand the mechanics of a chest-supported row, it’s helpful to know the basics of a dumbbell row—a common move you’ve probably seen and done in tons of strength classes. Dumbbell rows are a compound upper body exercise that help strengthen your back, but also work parts of your shoulders, biceps, and core.
The basic dumbbell row, commonly known as a “bent-over row,” is performed standing, with a dumbbell in each hand. With arms relaxed at your sides and feet hips-width apart, you hinge your hips, keeping your back flat and core engaged. Then, you pull the dumbbells up and back, squeezing your shoulder blades together and keeping your elbows tucked in close to your body before lowering the weights back down with control. There are plenty of modifications and variations for this move that don’t require additional equipment, but adding in a bench can take the intensity up several notches.
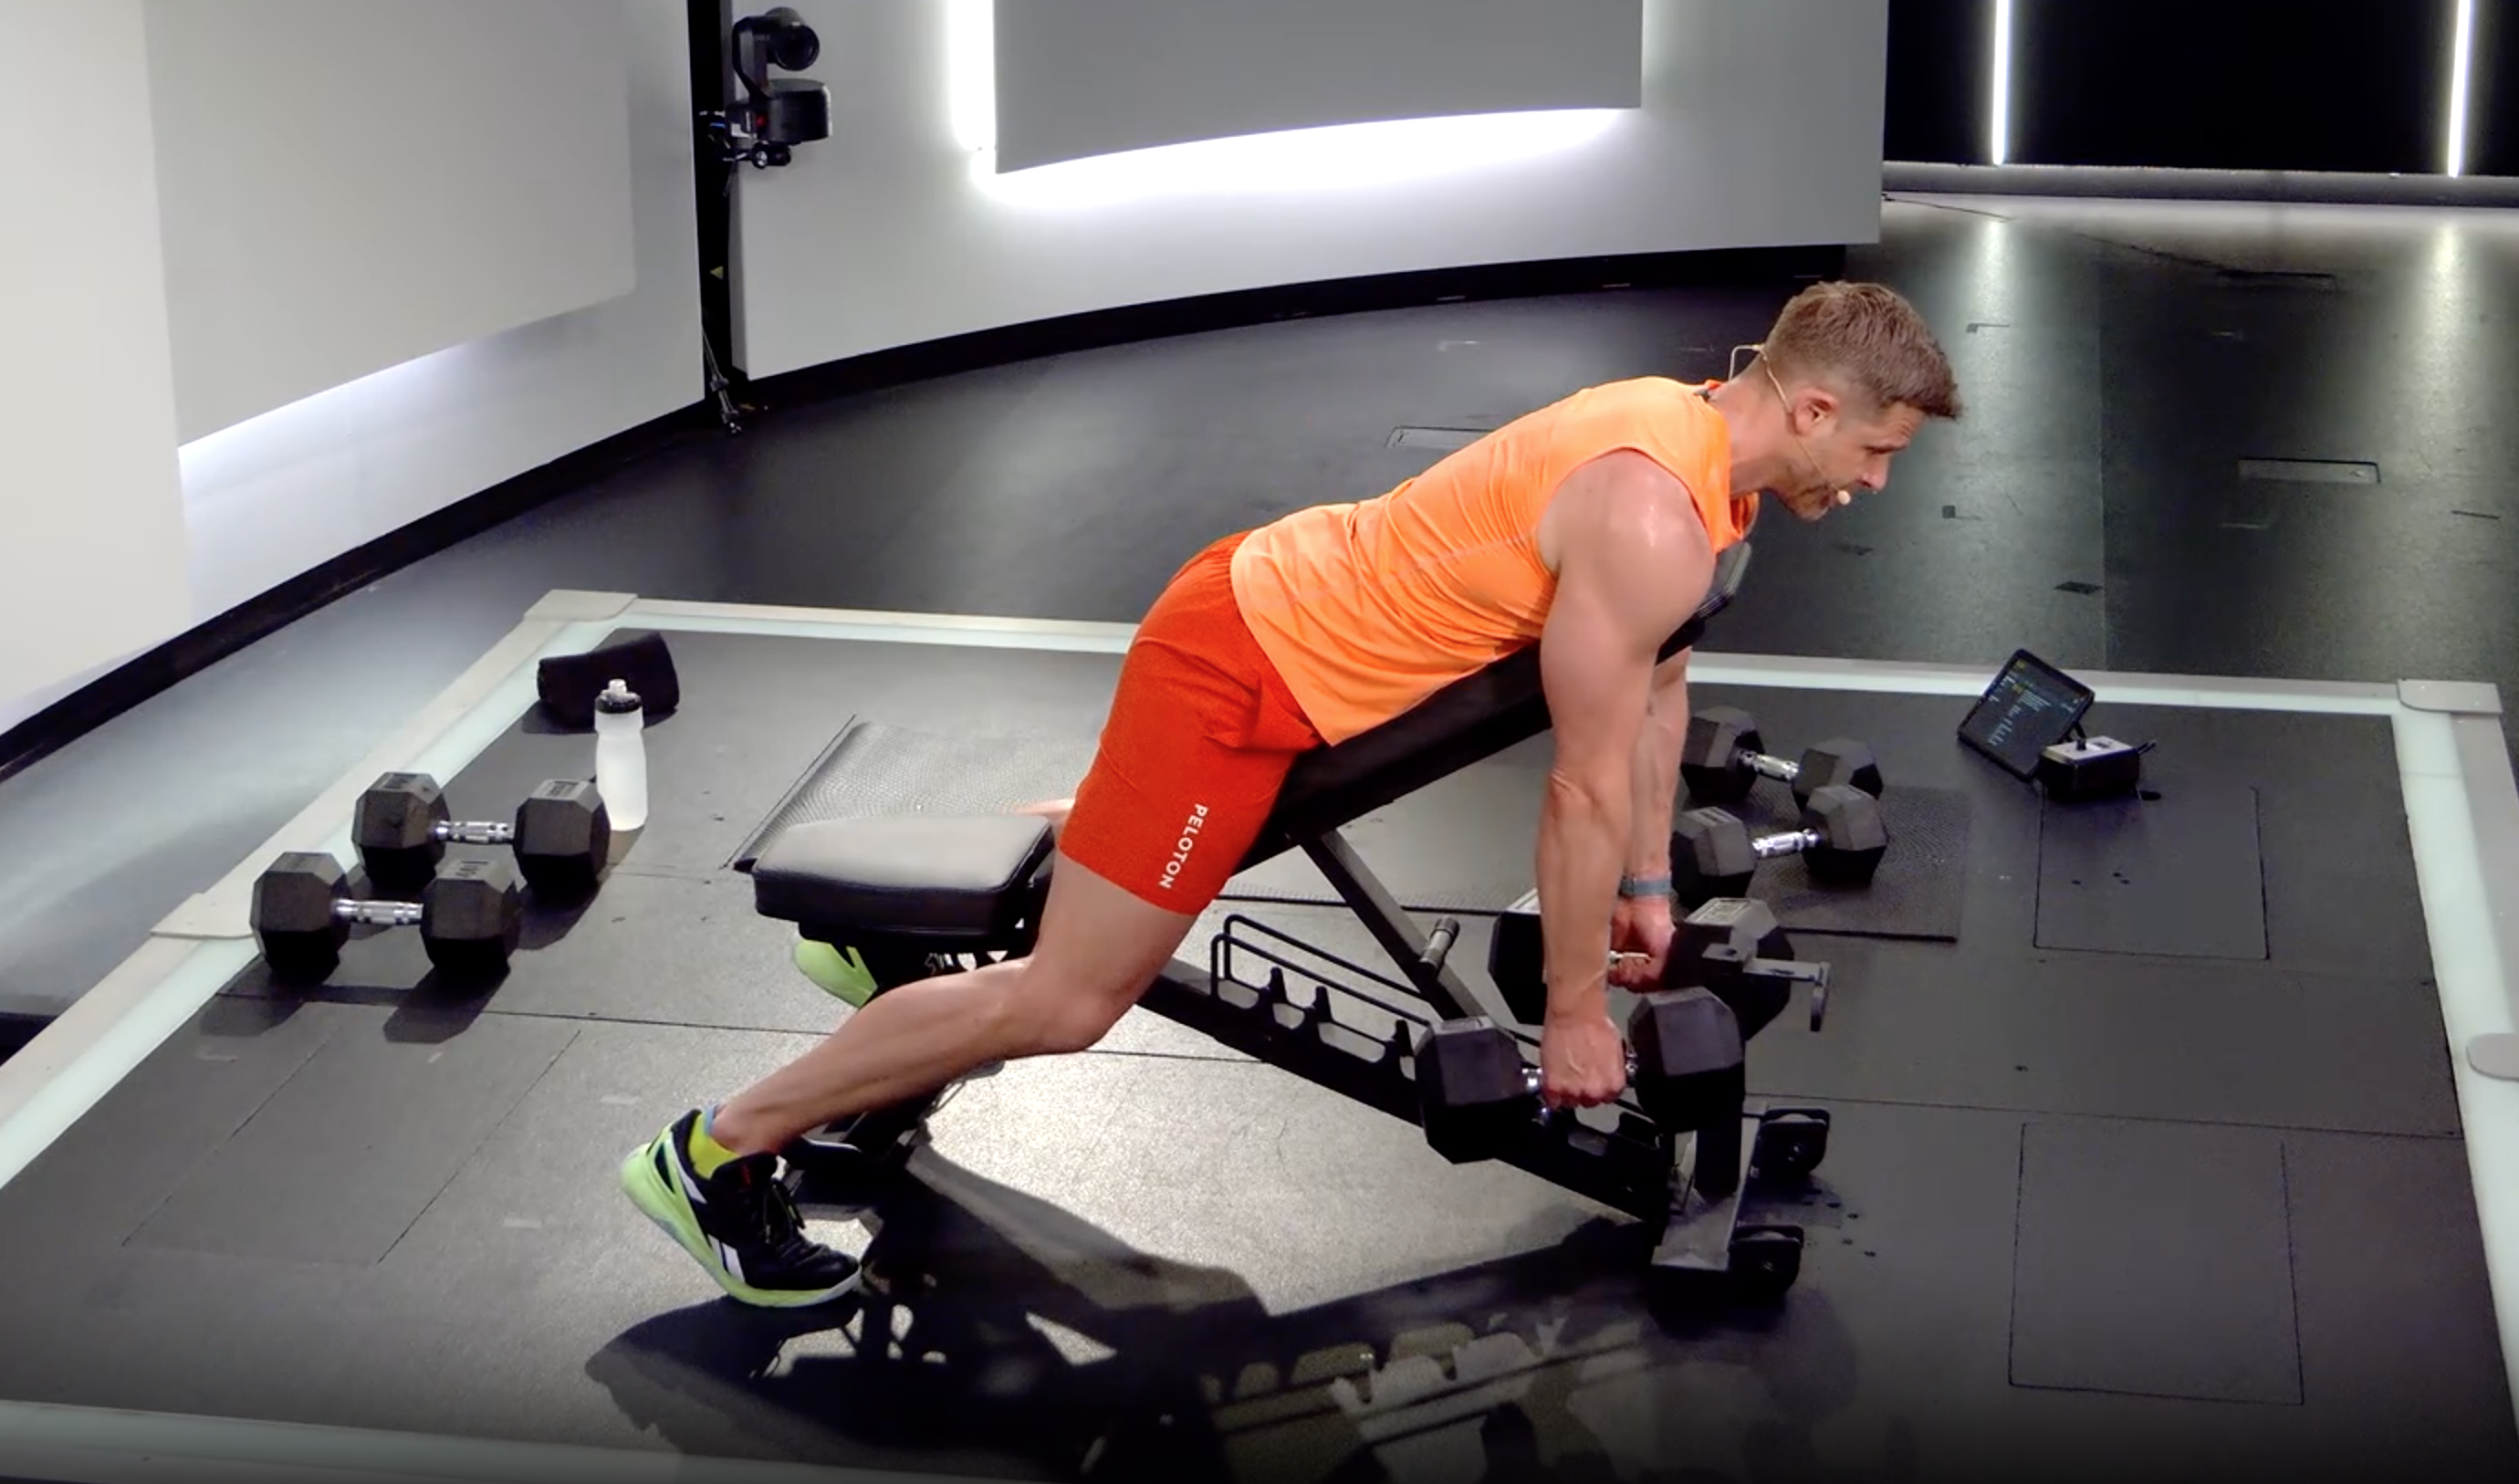
During a chest-supported row, you lie chest-down on a bench and perform the same basic movement with your arms, engaging your upper back muscles. But with the support of the bench below you, you’ve given yourself more support and stability, which can allow you to actually move heavier weights in a safe position—a surefire way to accelerate muscle growth (aka hypertrophy) and tap into the benefits of progressive overload.
Chest-Supported Row vs. Traditional Rows: What’s The Difference?
If you’ve only ever performed a bent-over row, then you might be wondering why it’s worth messing with a good (albeit, already challenging) thing. The reason Andy and other trainers like to mix things up with a chest-supported row is the effective and efficient way the exercise isolates the targeted muscles.
“The main difference is just what the name implies: your chest and body weight are supported by a bench so you're not having to use any accessory muscles to support yourself, and you can put all of your work into the row,” Andy says. “It sets you up for doing the row at its maximum potential versus having to hold your position or form like you would in a bent-over or three-point row.”
By allowing the bench to support your weight, you’re effectively removing your lower body and core from the equation, giving those muscles the chance to rest while you really focus all your energy and attention on your upper back. While compound movements that work multiple muscle groups at once are essential to a well-rounded fitness plan, isolation exercises like the chest-supported row help activate and target specific muscles, and can be great for improving muscle imbalances. Isolation exercises are also ideal moves to integrate into split-style training, ensuring that your muscles have plenty of time to recover between intensely focused sessions.
What Muscles Does a Chest-Supported Row Work?
The chest-supported row specifically targets the upper back, which includes the deltoids, lats, rhomboids, traps, and they also work the biceps. “The chest-supported row works the same muscles as most rowing moves,” Andy says. “Your lats and biceps are your main pullers, and then your rhomboids, rear delts, and maybe your mid traps are involved, especially if you're using two arms.”


Chest-Supported Row Benefits
Whether you perform rows with the support of a bench or not, you’ll reap a ton of benefits with consistency and commitment, including:
Increased upper back strength
Improved posture
Better grip strength
But according to Andy, the major advantage of doing chest-supported rows is the ability to really zero in on specific muscles and push to your max.
“The main benefit is that you can focus the effort and the work on your pulling muscles—the lats, biceps, and upper back—so you can bring those muscles to fatigue to a higher extent then you would be able to in an unsupported or bent-over row,” Andy says. “Whether you want to bring those muscles to failure or you want to do isometric holds, the exercise focuses on that specific muscle group and doesn’t stress your lower back, your legs, or whatever else you would need to hold the position in a free-standing row.”
All that said, Andy is also clear that there may be a time and place for a variety of upper back-strengthening moves—it all depends on your specific goals. “If you're doing bodybuilding and hypertrophy work, there's a good reason that you would probably want to do a regular free-standing bent-over row too,” Andy says, “But if you're just like, ‘I'm smashing my back today,’ the chest-supported row is a move that allows you to safely bring your muscles to failure or to whatever point you want to bring them to during your set.”
And while the chest-supported row helps take unnecessary pressure and strain off your lower back, that doesn’t mean it’s entirely unsafe or unproductive to target that part of the body in your training. “I'm definitely not saying ‘don't train your lower back,’” Andy says. “But this is a very safe way to blast your lats and upper back without worrying about hurting your lower back. It allows you to isolate the muscles that you're working out and you don't have to worry about your lower back getting overdone or tweaking it or putting you in a bad position because you're supported on the bench.”
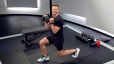
How to Do a Chest-Supported Row Correctly

If you’re intimidated by the bench or unsure whether you’re executing the chest-supported row correctly, Andy has you covered—here are his step-by-step instructions for properly performing the move:
Set the incline on your bench to 30 degrees. “The angle really depends on the length of your arms and whether you're using kettlebells or dumbbells,” Andy says. “But ideally, 30 degrees is nice; 45 degrees can sometimes be a little high. As far as maximizing the pull of the exercise, if the bench is at 45 degrees, there’s a tendency to shrug a bit. So start at 30 degrees, and you can obviously go up or down a little bit, depending upon the situation.”
Set your dumbbells within reach and rest your chest on the angle pad of the bench with your feet firmly planted into the floor. “Depending upon how you're built, you might need to be a little further up on the bench,” Andy says. “But generally, you don't want your chin tapping the top of the bench; you want to have plenty of space with your head at the top of the bench,” says Andy. You can adjust for your personal body comfort, but the goal is to be able to lie flat on the bench and keep your feet planted on either side of the bench, adds Andy.
Give your hips a slight tuck, engage your core, and grab a weight in each hand.
This sets up a nice frame for you to pull from,” Andy says. “Then, grab one dumbbell at a time.”Engage your back muscles and bend your elbows to pull the dumbbells straight back. “You want to pull the dumbbells in the direction of a horizontal pull as best as you can,” Andy says. “So you’re not pulling the dumbbells straight up to your chin, but you’re pulling them back so they land near the sides of your ribcage, getting a good range of motion in there.”
Slowly lower the dumbbells back toward the floor. Repeat for as many reps as possible with the weight of your choice.
3 Tips For Better Chest-Supported Rows
To ensure you get the most out of your move, Andy offers the following three tips for performing your form on the chest-supported row:
Find a Bench Angle that Works for Your Body
While 30 degrees is a good starting angle for many bodies, that particular angle may not work for your body, so experiment until you feel fully supported and safe. “Just make sure you have enough room to fully extend your arms and make that your starting point,” Andy says. “You want to find the lowest angle you can where your arms still have a couple inches of clearance to the floor so your dumbbells don’t hit the floor on each rep.”
Position Your Weights So They’re Easily Accessible
Before getting into position on the bench, make sure you’re set up for success with your dumbbells within reach. “I like putting the dumbbells right on the feet of the bench, which are generally in a T-shape, so they’re slightly angled up,” Andy says. “That way you can get a nice grip on them.”
Engage Your Core and Give Your Hips a Slight Tuck
Even though your torso is pressed up against the bench and your upper body is doing the work, you should still pay attention to your torso and glutes. “One thing that’s really important that a lot of people miss is the posterior tilt of the hips,” Andy says. “That means making sure you're not in an overly arched position with your tailbone sticking up. You want to tuck the tailbone under just a little bit and find a bit of ab tension, just like you would do in almost every other move when standing.”
Chest-Supported Rows: Modifications and Variations
While most exercise moves come in a variety of modifiable forms, Andy says that one major benefit of the chest-supported row is its accessibility and approachability for all levels. “It's a great move because it's relatively safe and self-regulating and self-correcting,” Andy says. “You really can't go that wrong, even if you're doing something that's maybe technically not perfect, it's a pretty safe move to just get in and rip some reps out, as long as your general setup is correct.”
The one main modifiable factor in the chest-supported row is the heaviness of your dumbbells. “Just like with any strength training, you can do heavy sets of five or six reps, or you can knock out a 20-rep set, and everything in between,” Andy says. “It really just depends on what your training goals are.”
Aside from the amount of weight you’re pulling, and the angle of your bench, Andy says the chest-supported row is generally safe for anyone to perform, as-is. “It's a pretty simple setup, unless you have a very specific injury that is preventing you from doing the rowing motion, which is a whole different story,” Andy says. “There aren’t a lot of modifications for it, but there are a bunch of variations and different types of rep schemes and tempos you can do. It's almost the most highly modified version of the row that you can do, so there’s no need to regress back more from that setup.”
When it comes to switching up the rep scheme and tempo of your chest-supported row workouts, the possibilities are nearly endless. “There are a ton of variations that you can do within the rows,” Andy says. “I love the incline bench because you have your standard, ‘one second up, one second down’ tempo, but you can also do an isometric hold at the top of each rep for three, five, or 10 seconds. You can also do an alternating row from the bottom-up or hold the dumbbells at the top of the rep and do an alternating row from the top-down, which is really challenging.”
Changing the grip on your dumbbells can also modify the move, targeting slightly different muscles and challenging your body in different ways. “You can do a little bit of a wider grip row with some lighter weights to focus more on the upper back, with the elbows flared out a touch,” Andy says. “It's a really safe way to fool around and have some fun with those things because you're not really worried about hurting your lower back or messing up your spine. As long as you're just being generally smart about what you're doing, you can have some fun playing around with all those variations.”
Mistakes to Avoid When Doing Chest-Supported Rows
While the set-up is simple, Andy does caution anyone performing the chest-supported row to avoid two common mistakes related to form. “Make sure you’re not overarching your back,” he says. “You will have some thoracic extension at the top of the move when you finish your pull, but you want that to be a byproduct of the row, rather than an arching up off the bench. If you move an inch or half an inch during the pull, that's going to happen, but you don't want to be doing a Superman arch on the bench with every rep. So maintaining a static position with your torso for the most part during the rows is the best way to just focus and isolate the muscle groups at the back that you're looking for.”
The other major form mistake Andy often sees has to do with foot positioning. “Ideally, you want to have your knees bent and the balls of the feet really dug firmly in the floor,” he says. “If your legs are straight and you don't have a good foot plant on the floor, you're going to slide down the bench during your set. You sometimes see some people start the set in one spot and then by the sixth rep, they've slid down three inches and their chins are at the top of the bench.”
The Takeaway
If you’ve been toying with the idea of taking your strength workouts to the bench, give Andy’s Total Strength: Density Training Collection a try, and see for yourself how functional and accessible the chest-supported row can be. Not only does the move target a ton of muscles in your upper back, but it allows you to comfortably rest your weight on the bench so you don’t have to expend extra mental or physical energy trying to find your balance or fine-tuning your alignment.
Peloton App
Access thousands of classes with no equipment needed.
“It’s one of my favorite moves in the gym because there's so much variety within the move,” Andy says. “You can focus on your back and not have to worry about holding your stance or creating lower back issues, so you can very safely go to high levels of fatigue and almost failure on your reps,” he says. “And even if you break form, the dumbbells are only about two inches from the floor, so you won’t be dropping anything heavy from high heights or worrying about safety, so it’s a great row variation for both beginners and anyone who just generally likes to get a really solid pump on and focus on the back.”
Try Peloton Total Strength: Density Training Classes
See all classes

This content is for informational and educational purposes only and does not constitute individualized advice. It is not intended to replace professional medical evaluation, diagnosis, or treatment. Seek the advice of your physician for questions you may have regarding your health or a medical condition. If you are having a medical emergency, call your physician or 911 immediately.
This content is for informational and educational purposes only and does not constitute individualized advice. It is not intended to replace professional medical evaluation, diagnosis, or treatment. Seek the advice of your physician for questions you may have regarding your health or a medical condition. If you are having a medical emergency, call your physician or 911 immediately.

Level up your inbox.
Subscribe for a weekly dose of fitness, plus the latest promos, launches, and events.
By providing your email address, you agree to receive marketing communications from Peloton.
For more about how we use your information, see our Privacy Policy.