The 3 Different Bike Riding Positions—Plus When and How to Do Them
Get the most out of every ride from set up to cool down.
By Alyssa Sparacino•
Why It’s So Important to Maintain Proper Form While Riding
How to Adjust Your Bike for Proper Set Up
The Three Main Bike Riding Positions
Common Bike Riding Position Mistakes
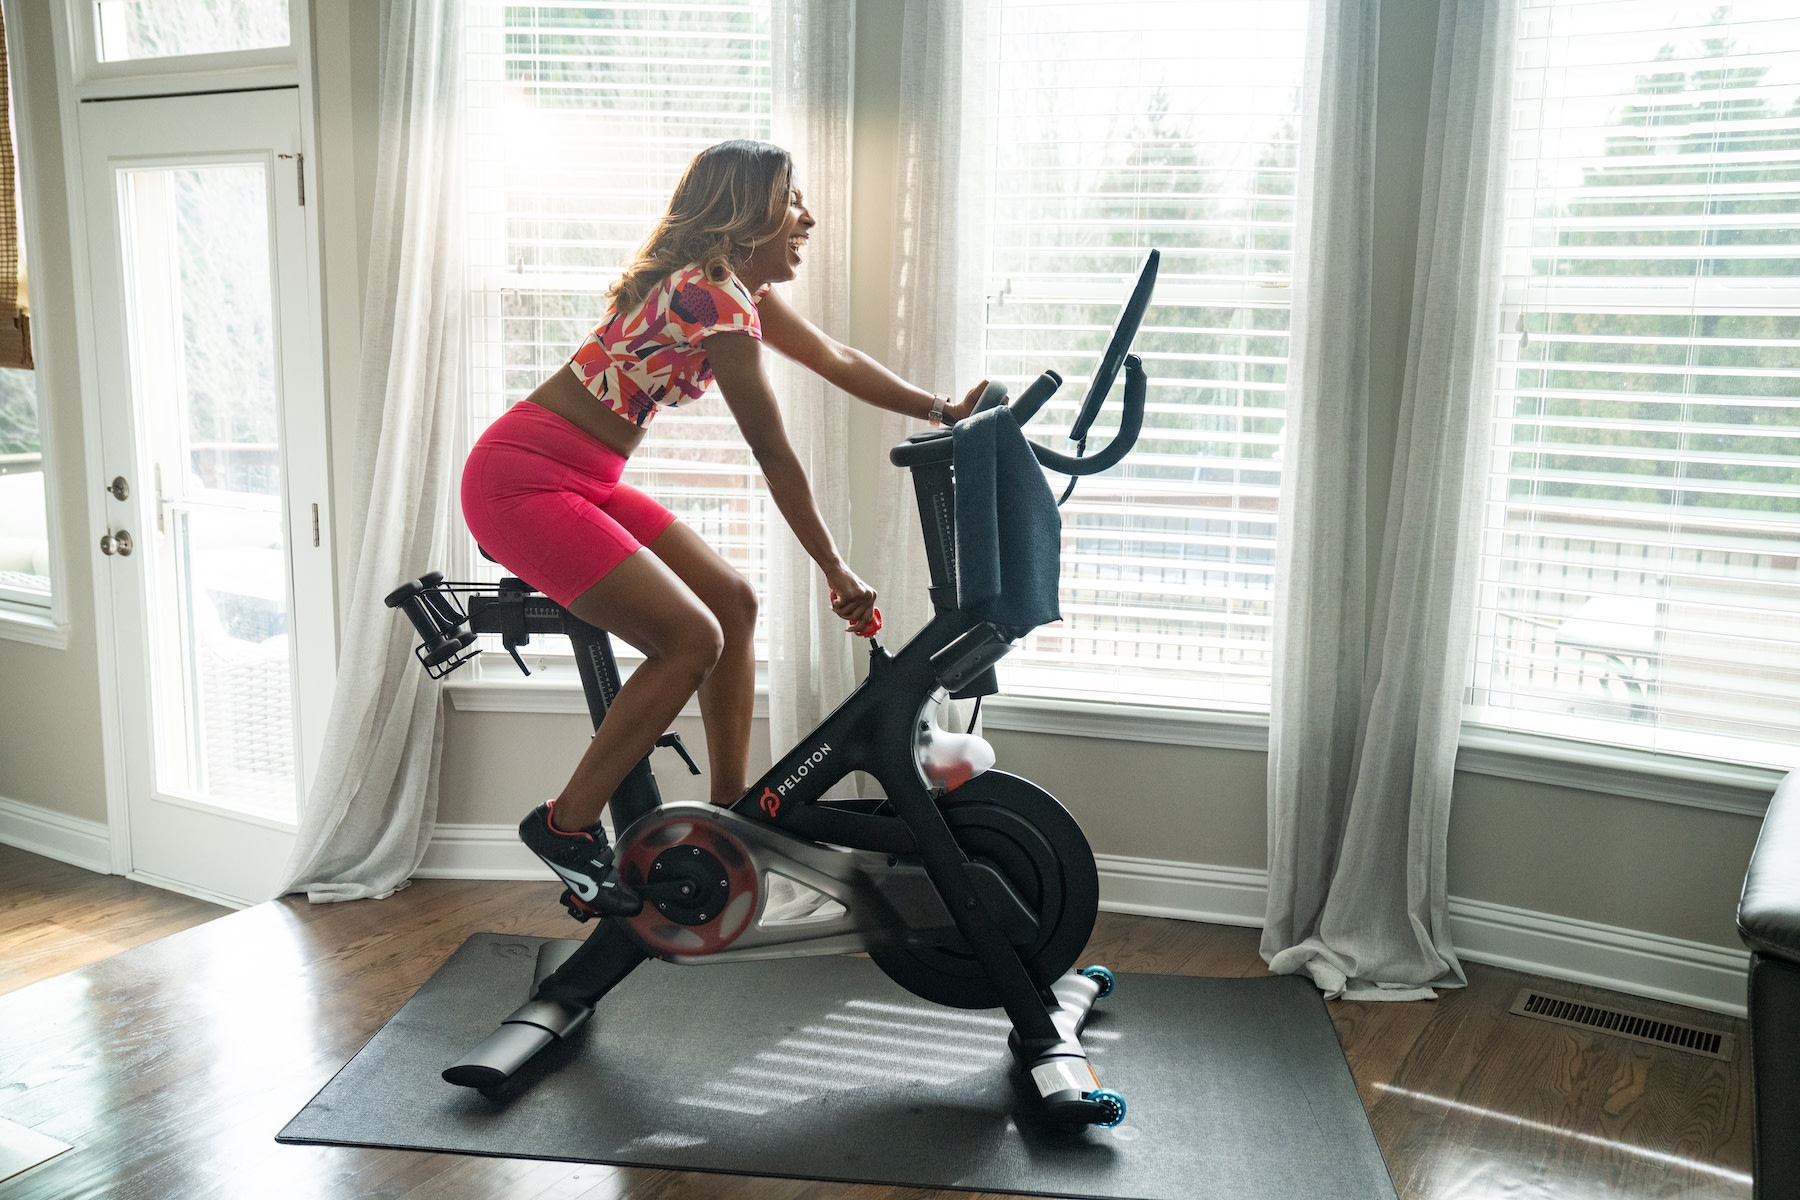
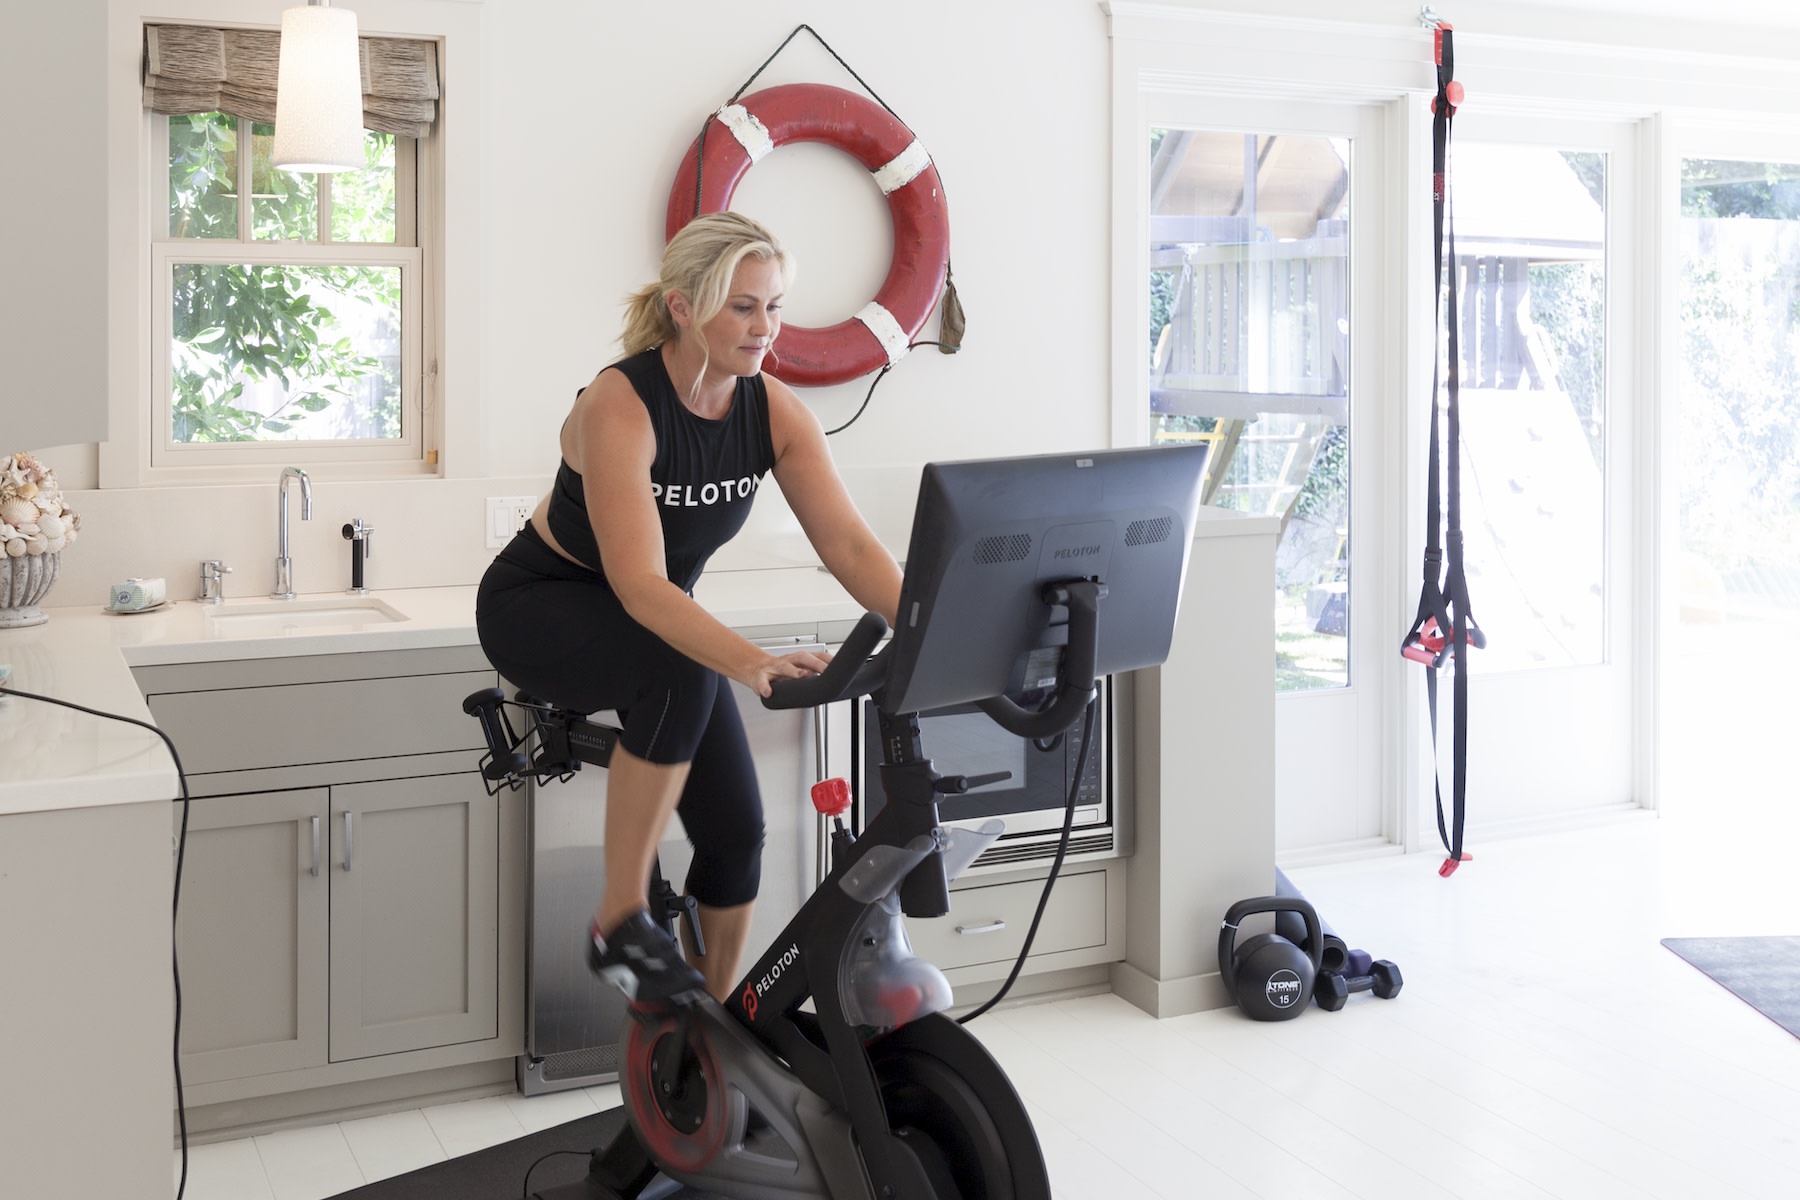
Here’s a necessary truth: If you aren’t putting enough attention into your bike set up and form during every rotation of that flywheel, your workouts are suffering—no matter what the leaderboard says. Make the most out of the hours you likely spend on your Peloton Bike or Bike+ every week by taking stock of your form in each bike riding position, including your hand placements and how you transition from one to the next.
Whether it’s pain-free knees or a higher total output, these tiny tweaks have the power to create big results.
Why It’s So Important to Maintain Proper Form While Riding
You’ve heard it from your favorite instructors time and time again: Quality over quantity. A few quality reps with proper form and range of motion far surpass three times as many with loose form and zero body awareness. The same holds true on the Bike (or Peloton Tread or Peloton Row for that matter)—perhaps even more so. Form on the Bike, no matter the position, is important to prevent injury and really max out your effort..
Letting the pedals do the work for you means your workouts are likely less effective and potentially even dangerous if both your Bike set-up and form are lacking, says Peloton instructor Olivia Amato. Basically, “you could get injured or not get the most out of the workout,” she says. Proper Bike set-up and form in every bike riding position also “helps that in terms of efficiency when riding the bike,” she adds, meaning your strokes and transitions are smoother and your endurance will improve.
How to Adjust Your Bike for Proper Set Up
Appropriate bike setup will ensure you are engaging the right muscles during your rides and are able to smoothly transition from one bike riding position to the next, as well as help protect your joints. Everyone’s Bike setup—such as seat height— will be slightly different depending on factors including height, but there are some common guidelines to help you.
How to Adjust Your Bike Seat
You’ll want to adjust both seat height and depth for proper alignment while riding. A good rule of thumb is to set your seat height to roughly parallel with your hip height when standing next to the Bike frame. When adjusting the seat’s depth, you can start with a forearm’s distance from the handlebars to the tip of the seat and make any necessary adjustments from there.
The goal is to have roughly a 90-degree bend at the knee during the top of every pedal rotation. Any more or less can put unnecessary pressure on the knee joint.
How to Adjust Your Bike Handlebars
Don’t forget to customize your bike’s handlebars as well. Handlebar placement is a bit more about personal preference, but generally speaking, newer riders may feel more comfortable with their handlebars higher. Try starting mid-to-high with your bars and make adjustments as needed. You’ll want to ensure you aren’t excessively straining to reach any point on the bar so you can smoothly transition between bike riding positions.
The Three Main Bike Riding Positions
Now that your bike is all set up, and you’re ready to ride, let's break down the different riding positions you’ll encounter during class. Each has their advantages and allows for different muscle engagement.
Your instructor will cue not just changes to your resistance or cadence but also transitions from one position to the next. “Changing positions really emphasizes the full body workout” that Peloton’s cycling workouts provide, says Amato. Plus, it’s a great way to “get your heart rate up quicker when going from in the saddle to out of the saddle,” she says.

First Position
First position on your Peloton Bike is just like, well, riding a bike. You’ll stay seated and place your hands on the outside of the handlebars at the widest position toward the bottom of the bars closest to you. Avoid stretching your arms too far toward the tips of the bar. You instead want your elbows to be relaxed and shoulders down with your chest lifted. Remember that your knees should have a slight bend while in first position. A sign you’re too high, for example, would be if your foot is pointed and stretching to reach the bottom of the stroke instead of flat. A sign your seat is too low would be if the back of your upper and lower legs behind the knee are feeling squished at the top of the pedal stroke. Make any adjustments to your seat height or depth again, if needed.
While every class is different, you should generally be able to pedal at a comfortable cadence while seated, as this can often act as an active recovery position. Sprinting can sometimes be cued in first position as well, which is why A+ set up and appropriate resistance is so important.

Second Position
To transition from first to second position you’ll want to start by adding resistance so that you feel some weight to your pedal strokes. This ensures you come into second position and out of the saddle with control rather than flying loosely off the seat.
As you lift yourself off your seat, your hands will remain placed midway up the outside of the handlebars. Keep your chest lifted and hips directly over your feet. Your hips should be in a slight hinge; avoid standing directly upright. Engage your core to help keep your torso lifted and avoid dumping into your hands.
“It’s important to note that you shouldn’t use your hands and handlebars to help keep your chest lifted—use the core for that!” adds Olivia.

Third Position
To transition to third position you’ll want to keep resistance high enough to feel an effort or catching with every pedal stroke. If you’re starting from first position, you’ll push up and out of the seat, maintaining core engagement. Whether coming from first or second position, you’ll move your hands to just above the bend of the handlebars, so about three-fourths of the way up. If your hands are on the tippy top of the bars, you may be too upright. Your hips should be hovering above the bike seat with a slightly greater hinge than while in second position, but your chest should remain lifted, shoulders down, and elbows softly bent.
As this position is often used during steeper climbs, to increase power, or for fast runs on the bike, maintaining alignment and core activation will help you get the most out of your work standing in third.
Learn more about the different Bike positions, and watch videos to really nail the form here.
Common Bike Riding Position Mistakes
Let these common errors, courtesy of Olivia, serve as a reminder when setting up or riding during your next Peloton cycling class:
Watch for back or knee pain, as this may indicate your bike seat is too low or too far back. Make adjustments as needed.
Avoid putting too much weight into your handlebars, as this allows the core to take a backseat. Instead, focus on deep abdominal engagement and strong breathing throughout.
You want your pedal strokes to feel fluid and circular. If they are feeling more square and sticky, consider knocking down the resistance. This will improve your energy output and efficiency. Think about your pedal movements like a swimming stroke in the pool, Peloton instructor Matt Wilpers previously told The Output.
Don’t arch your back or hunch forward. Keep in mind that proper core engagement is key.
If your knees are knocking into the resistance knob, consider if your seat is too far forward or you are not fully engaging your glutes, which are responsible for hip abduction and external rotation. When in doubt, Peloton instructor Kendall Toole previously told The Output this helpful tip: Hips, knees, and toes, should all be in the same line.

Peloton Bikes
Two bikes. One Peloton experience.
This content is for informational and educational purposes only and does not constitute individualized advice. It is not intended to replace professional medical evaluation, diagnosis, or treatment. Seek the advice of your physician for questions you may have regarding your health or a medical condition. If you are having a medical emergency, call your physician or 911 immediately.
Level up your inbox.
Subscribe for a weekly dose of fitness, plus the latest promos, launches, and events.
By providing your email address, you agree to receive marketing communications from Peloton.
For more about how we use your information, see our Privacy Policy.


